
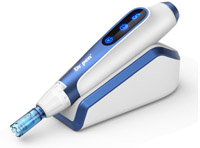

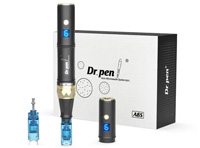


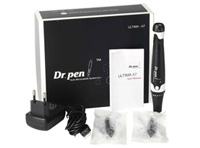


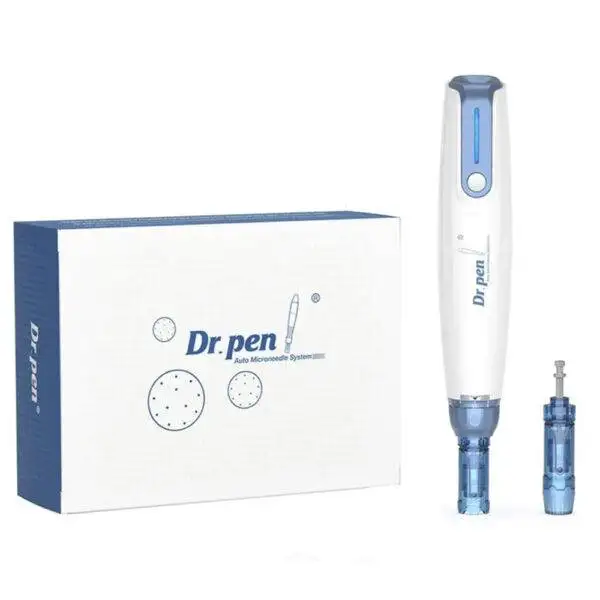
 Sale!
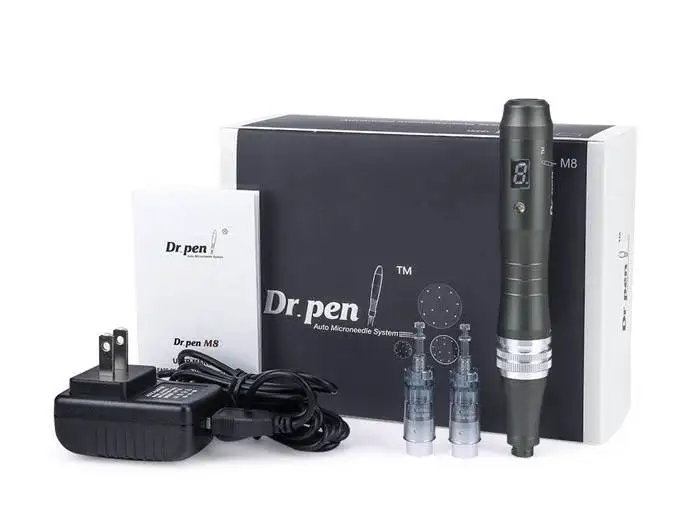
Sale!Dr. Pen A9 Professional Pro BUNDLE
Original price was: $339.99.$299.99Current price is: $299.99.-
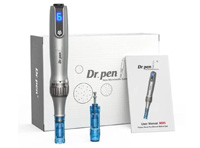
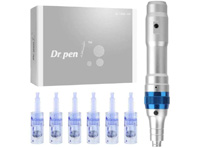
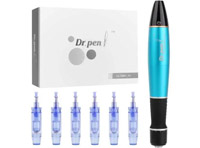
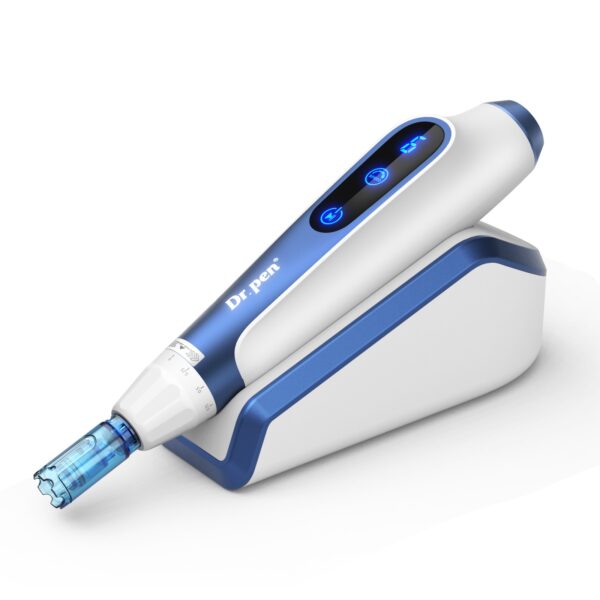
Sale!
Dr. Pen A9 Professional Pro BUNDLE
Original price was: $339.99.$299.99Current price is: $299.99.


Start between the brows.
In this area, wrinkles can often become deeply set. Use a small criss-cross motion with your microneedling pen try to go UPWARDS only NOT up and down, again apply an even pressure and holding the skin above the eyebrows taut with your free hand.
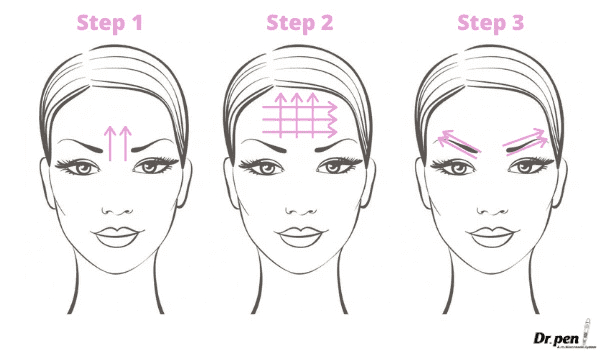
On the forehead it is best to use a criss-cross motion, using alternating strokes of to the side and upwards rather than directly sideways. This is to keep the lines consistent, easier to control with your hand and greater coverage. Think of creating a straight backslash upwards on your forehead.
Use a light, even pressure. If you have some loose skin, you may need to hold this area taut as well.
As you move to the eyebrows, use your free hand to hold the skin taut and gently pull from the peak of your eyebrow outwards. Be very careful and ensure the Depth of your pen is no more than 0.5mm
Move your microneedling pen in cross-outwards motions gently across the brow bone.
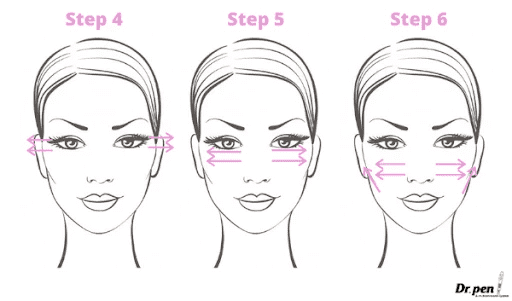
Around your eyes is the most common place for crows feet to develop. Be gentle as the skin here is very delicate. If your skin is loose, use your free hand to gently hold the skin taut, but not too tight as the area is already quite thin.
Use outwards cross motions away from your eye that lift slightly up as you near the hairline.
In the delicate under eye area, apply a light pressure and move the microneedling pen in cross, outward motions towards the side of the face, being extra careful not to drag the pen. In this area do not exceed 0.75mm depth.
TIP: Always remember to apply Hyaluronic Acid to the area that you’re about to needle right before needling.This will help the pen to glide across the skin.
Moving on to the fattier area of the cheeks, using your free hand to hold the skin taut, use cross outwards motions towards the outer sides of your face.
Then, from the earlobes and up to the cheekbone, use gentle upwards motions with your microneedling pen.
On the fleshy part of your chin, use up and cross motions to gently needle the area. There is not need to press hard into your chin, follow your jawline as you work into this area.
Pulling from the bottom of your jaw, gently make upward motions towards your cheeks. Try not to overlap areas where you have previously needled too much. This will cause more significant damage and a much longer healing time.
Pulling from the bottom of your jaw, gently make upward motions towards your cheeks. Try not to overlap areas where you have previously needled too much. This will cause more significant damage and a much longer healing time.

Finally, on the nose, make upward strokes towards the brow/forehead area.
TIP: If there are any areas that you are having trouble reaching with ease, or you feel are too small to do a ‘criss cross’ motion on, you can do small, circular motions with your pen to treat this area.