Microneedling is a minimally invasive cosmetic procedure that can help treat various skin concerns like acne scars, fine lines, wrinkles, enlarged pores, and more. It involves using tiny needles to create controlled micro-injuries in the skin, which stimulates collagen production and skin regeneration.This comprehensive guide will provide detailed instructions on how to practically perform microneedling at home to achieve maximum results.
What is Microneedling?
Microneedling, also known as collagen induction therapy or percutaneous collagen induction, is a procedure where tiny needles are used to puncture the skin. This triggers the body’s natural wound healing process, leading to the production of new collagen and elastin in the skin.The microneedles typically range from 0.5 mm to 2.0 mm in length. The tiny punctures created by the needles do not damage the epidermis or upper layer of the skin. Instead, they penetrate up to the deeper dermis layer which contains collagen and elastin fibers.This stimulation of collagen and elastin production gives the skin a firmer, smoother and more youthful appearance. Microneedling visibly improves the look of scars, wrinkles, fine lines, enlarged pores, uneven skin tone, and more.
Benefits of Microneedling
Here are some of the main benefits of microneedling:
- Stimulates collagen production in the skin leading to firmer and more youthful looking skin
- Reduces appearance of fine lines, wrinkles and enlarged pores
- Improves appearance of acne scars and stretch marks
- Evens out skin tone and texture
- Helps improve absorption of skincare products by increasing permeability of skin
- Non-invasive procedure with minimal downtime
- Safe for all skin types and tones
- Affordable compared to laser treatments
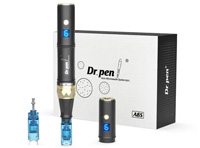
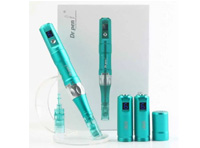
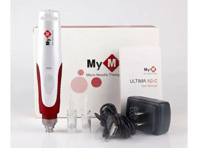
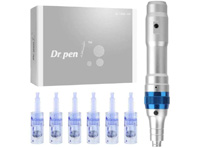
- Can be done at home with dermarollers or microneedling pens
Who is Microneedling For?
Microneedling is suitable for both men and women who want to improve the look and feel of their skin. It is effective for various skin types and skin tones.People who can benefit the most from microneedling include those with:
- Fine lines and wrinkles
- Dull, uneven skin tone
- Enlarged pores
- Acne scars
- Stretch marks
- Loose or sagging skin
Microneedling is not recommended for those who:
- Have used Accutane in the last 6 months
- Have open wounds, cuts or skin infections
- Have had radiation treatment on the skin
- Have certain medical conditions like hemophilia, cancer, etc.
Always consult a dermatologist before trying microneedling, especially if you have any underlying skin conditions.
How Does Microneedling Work?
During a microneedling treatment, a device with tiny sterile needles is moved over the skin to create microscopic punctures. This triggers the skin’s wound healing response leading to increased collagen and elastin production.Here’s a step-by-step look at what happens:
- The needles penetrate the epidermis and dermis layers of skin – The needles are able to bypass the epidermis and penetrate the deeper dermis layer which contains collagen and elastin fibers. The needle depth can be adjusted based on treatment goals.
- The needles create micro-injuries which trigger wound healing – The tiny injuries caused by the needles initiate the skin’s natural wound healing cascade. Growth factors are released which stimulate fibroblasts to produce more collagen and elastin.
- Increased collagen production plumps up skin and reduces signs of aging – The boosted production of collagen and elastin fibers makes the skin appear firmer, smoother and more toned. Collagen helps “plump up” skin from beneath while elastin improves elasticity.
- New blood vessels form promoting circulation and skin rejuvenation – The micro-injuries also promote the formation of new blood vessels. This improves blood circulation and delivery of nutrients which aids skin repair and rejuvenation.
- Topical skincare products can better penetrate the skin – The micro-channels created by the needles also allow skincare products like serums and creams to better penetrate the deeper layers of the skin. This enhances their effectiveness.
How is Microneedling Performed?
Microneedling can be performed either at a clinic by a dermatologist or aesthetician, or at home using an at-home microneedling device.
In-Office Microneedling
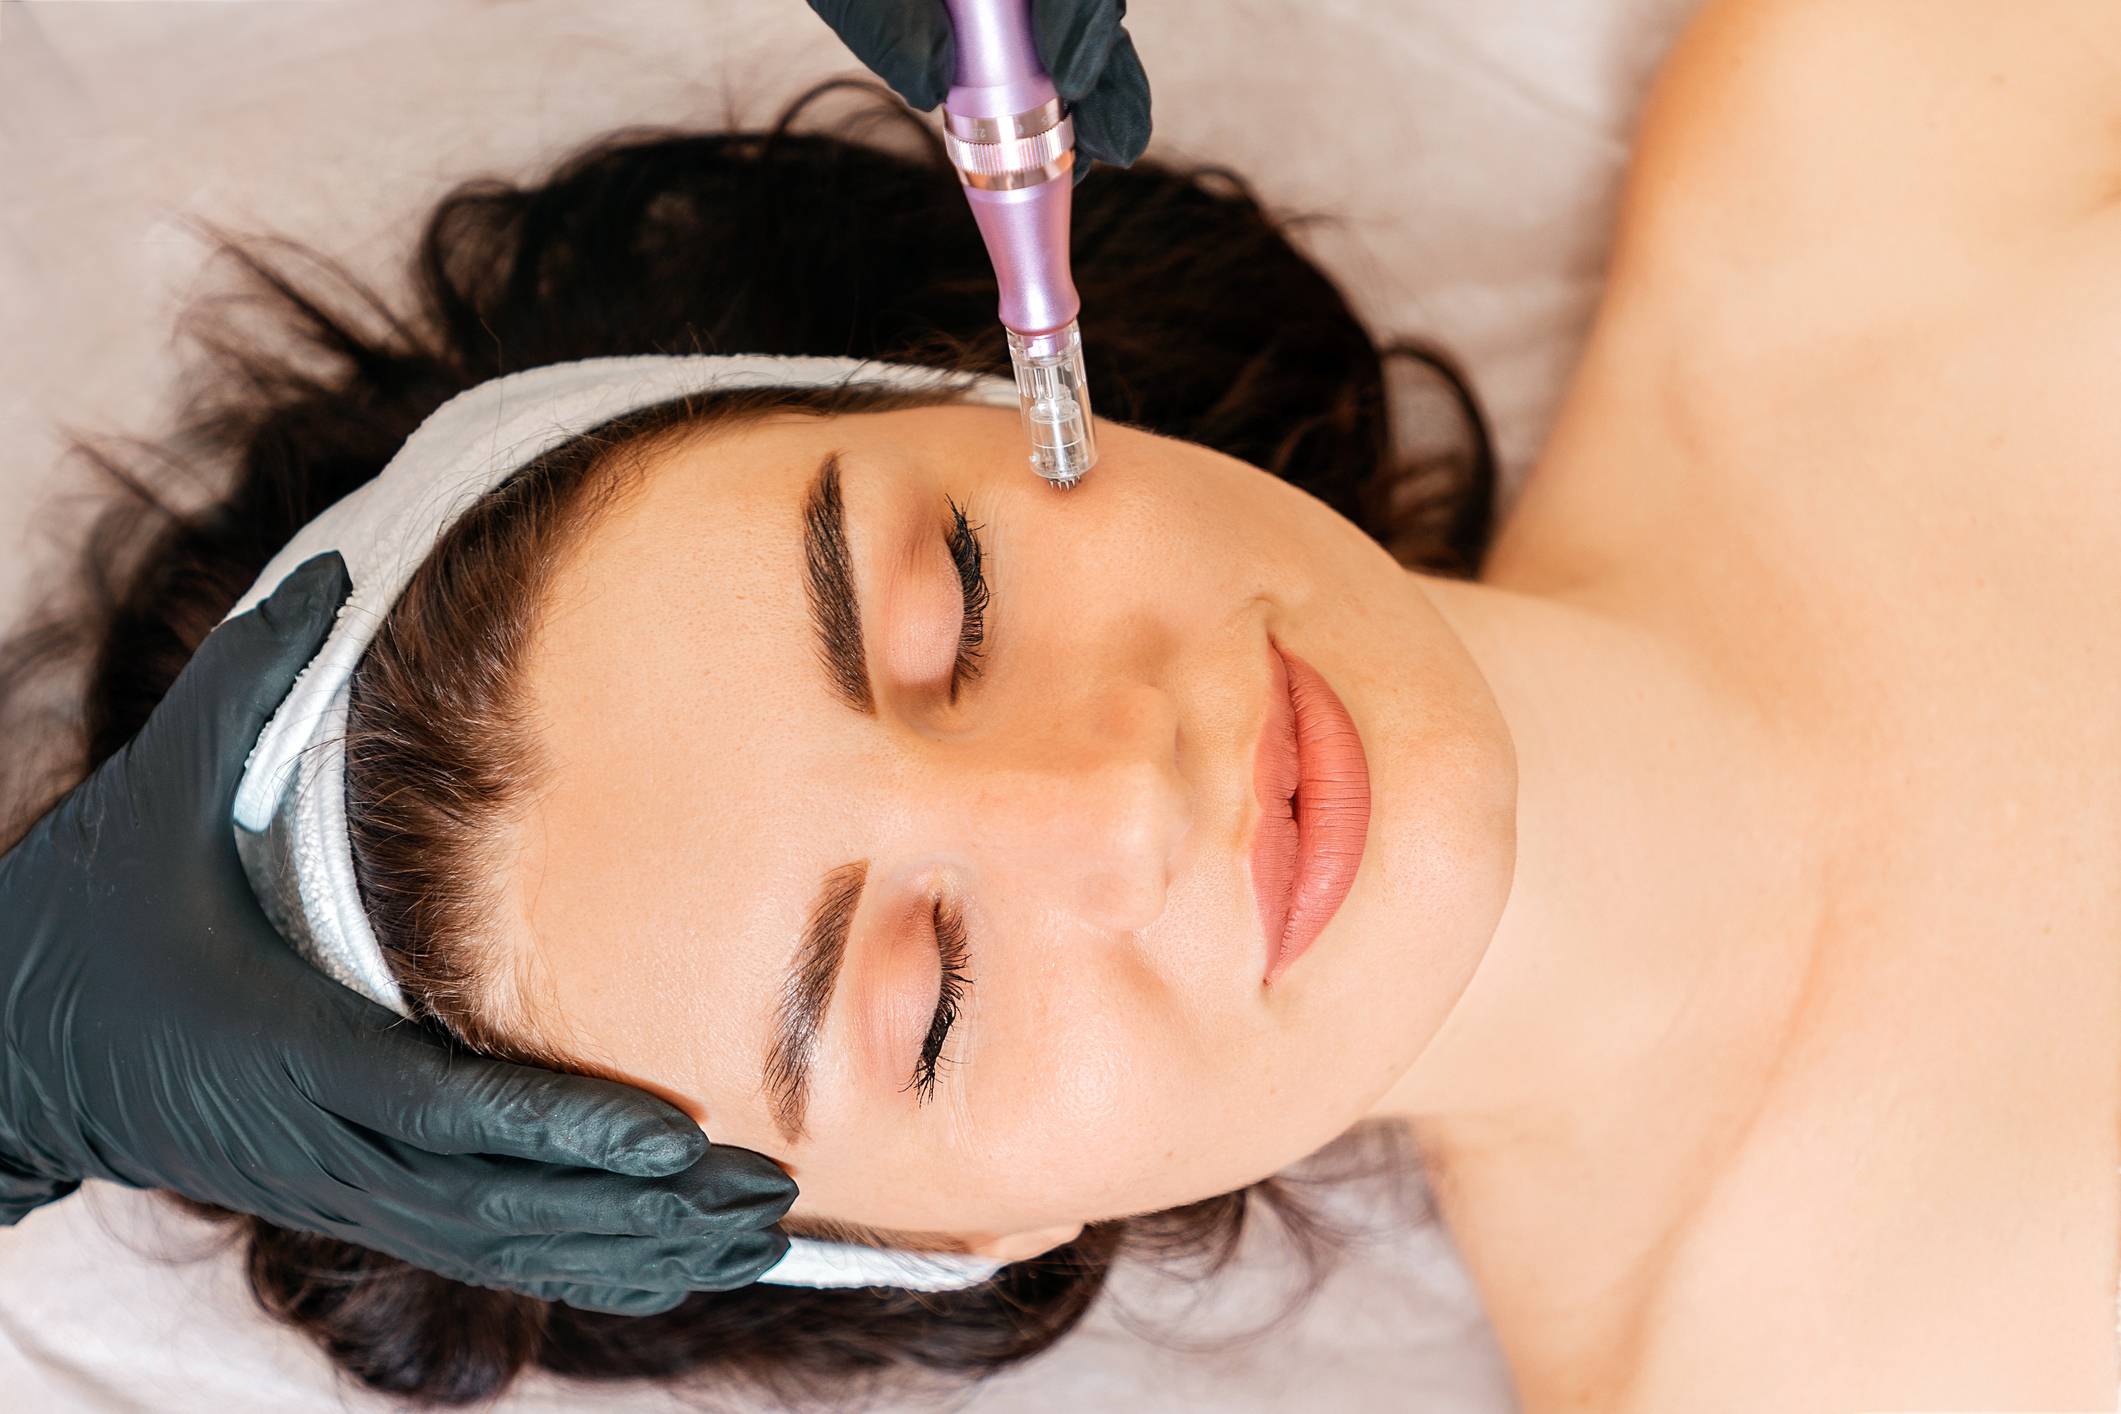
For in-office treatments, your dermatologist will use a professional microneedling pen device with sterilized needles ranging from 0.5 mm to 2.5 mm in length. Numbing cream is often applied prior to the treatment to minimize discomfort.During the procedure, the pen device is moved over the treatment area in a systematic pattern to induce the controlled micro-injuries. The needles penetrate the skin at precise depths based on the needle size used.Higher needle lengths like 1.5 mm – 2.5 mm are used for deeper scars while lower 0.5 mm – 1mm needles treat superficial skin concerns. The procedure is typically repeated 2-3 times in one session with intervals in between.In-office microneedling is performed under medical supervision for maximum safety and efficacy. Multiple sessions spaced 3-6 weeks apart are usually required to see significant improvement.
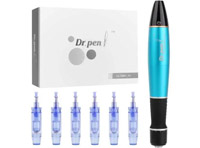
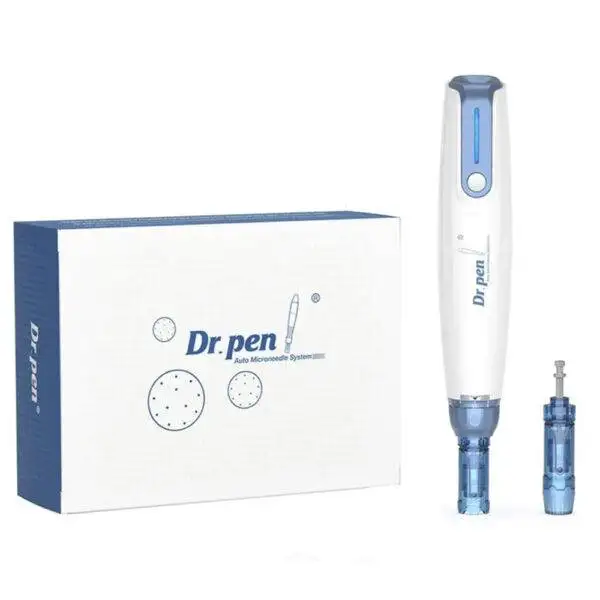
At-Home Microneedling
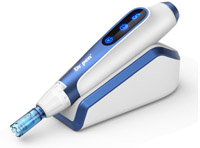
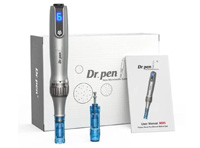
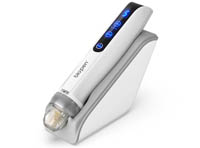
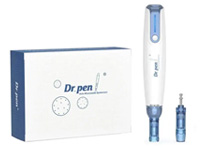
For at-home treatments, specialized dermaroller or microneedling pen devices with needle lengths up to 1.5mm can be used. The needles must be sterile and single-use only.It involves gently rolling the microneedling device over clean skin in different directions to create a uniform coverage of micro-injuries. Light pressure is applied and each area is treated 2-3 times during one session.At-home microneedling is a more affordable option but may require more frequent sessions to see results comparable to in-office treatments. Proper safety precautions and aftercare must be followed.
How to Prepare for Microneedling
Follow these steps to prepare your skin for a microneedling session:
- Avoid sun exposure for 2 weeks prior to reduce risk of post-inflammatory hyperpigmentation
- Do not use retinoids for 48 hours before to avoid irritation
- Stop exfoliating treatments like scrubs, peels, etc. around 5 days before
- Shave face 1-2 days prior if treating facial areas
- Wash face with a gentle cleanser and pat dry before procedure
- Numbing cream can be applied 30-60 minutes prior to numb the skin if desired. Use only medical-grade numbing creams.
- Avoid alcohol for 24 hours before to minimize bleeding and irritation risks.
- No tanning for 2 weeks beforehand. Recently tanned skin is prone to hyperpigmentation.
- Shave at least 24 hours prior if treating areas like the face, underarms, etc.
- Trim hair if treating areas like the scalp or legs to allow better access.
- Remove contact lenses before procedure.
Step-by-Step Microneedling Procedure
Follow these steps to perform your at-home microneedling session:
1. Cleanse and Disinfect Skin
- Wash face with a gentle cleanser and pat dry with a clean towel. Do not rub.
- Use an alcohol-based disinfectant pad to wipe the treatment area. Allow it to fully dry.
2. Apply Numbing Cream (Optional)
- Apply a thin layer of numbing cream if desired.
- Wait 30 minutes for optimal numbing effect before starting needling.
- Cleanse again to remove cream before needling.
3. Select Needle Depth
- Choose needle depth based on your skin concern. Use:
- 0.25 mm to 0.5 mm for superficial concerns like fine lines, enlarged pores
- 0.5 mm to 1.0 mm for moderate concerns like some acne scars
- 1.0 mm to 1.5 mm for deeper scars and lines
- Adjustable dermarollers allow changing needle depth between sessions.
4. Microneedle Treatment Area
- Stretch skin taut for better needle penetration.
- Roll across area evenly in multiple directions. Apply light pressure.
- Treat area 2-3 times going over each section multiple times.
- Use downward strokes on forehead and neck. Roll outward on cheeks.
- Avoid needling over same spot repeatedly to minimize damage.
- Apply serum or oil if needling over dry skin for smoother gliding.
5. Cleanse Face Again After Treatment
- Use lukewarm water to rinse off serum/oil and gently cleanse face again.
- Pat dry gently with a fresh towel. Do not rub skin.
Post-Treatment Care
Follow proper aftercare to enhance results and healing:
- No actives – Avoid retinoids, alpha hydroxy acids, vitamin C and other actives for 24 hours as skin is highly sensitive.
- Moisturize – Use a gentle, fragrance-free moisturizer to hydrate skin and help soothe irritation.
- Sun protection – Use SPF 30 or higher sunscreen for a week after. Limit sun exposure.
- Cleanse gently – Use lukewarm water and a mild cleanser. Avoid scrubbing.
- No makeup for 24 hours – Let skin heal without clogging pores.
- No sweating – Avoid strenuous exercise for 1-2 days.
- Hydrate – Drink plenty of water post-treatment.
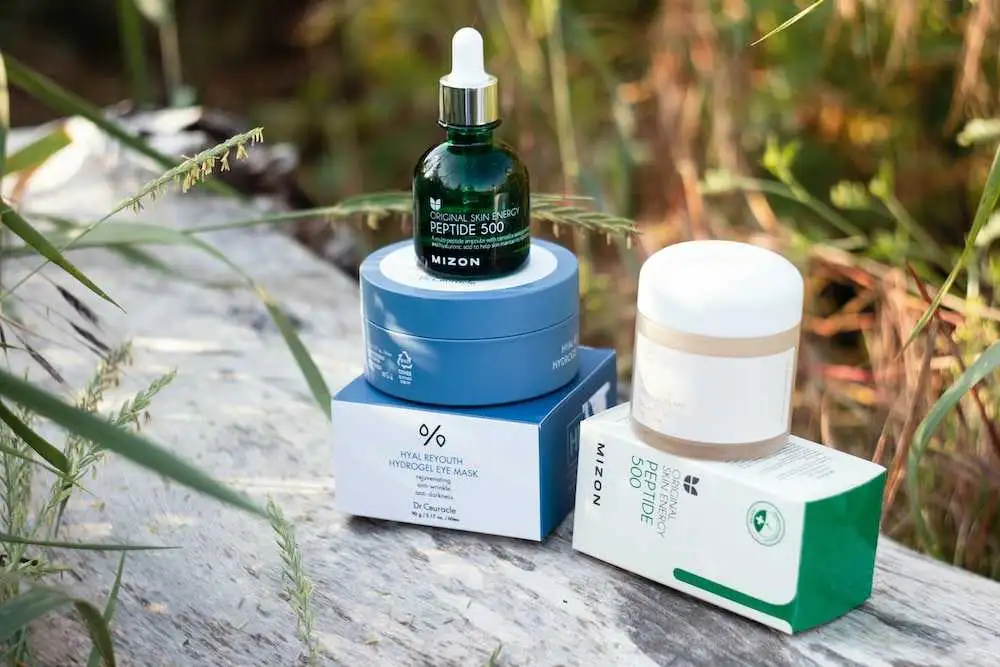
- Serums – Hyaluronic acid, peptides and growth factors serums aid healing.
- Cold compress – Place a cool towel on skin to help minimize swelling or redness.
- Avoid picking – Do not pick at dry skin or scabs as it can cause scarring.
How Often to Microneedle
- For collagen induction, aim for 4-6 sessions spaced 4-6 weeks apart.
- For maintenance after initial treatment, microneedle every 4-8 weeks.
- Do not microneedle more than once a week to avoid over-exfoliating.
- Adjust frequency based on your skin’s sensitivity and recovery time.
Be patient and consistent for best anti-aging results. Combine with serums and moisturizers for optimal benefits.
Microneedling Risks and Side Effects
When performed correctly, microneedling is considered safe for most skin types with minimal risks. However, potential side effects include:
- Redness, swelling and tenderness for 2-4 days after
- Dryness, flaking, peeling and itching as skin heals
- Breakouts due to infection or improper aftercare
- Hyperpigmentation if skin is not protected from sun after
- Scarring if needles are reused or treatment is too aggressive
See a doctor immediately if you experience severe redness, bleeding, pain or signs of infection. Overall, microneedling is a well-tolerated procedure when proper technique and aftercare is followed.
Microneedling at Home vs Professional Treatments
At Home Microneedling
- More affordable option
- Needle lengths up to 1.5 mm only
- Requires more frequent sessions
- Higher risk of improper technique
- Mainly improves superficial skin concerns
Professional Microneedling
- Uses medical-grade devices with longer needle lengths
- Administered by licensed aestheticians/doctors
- Improves deeper scars and wrinkles better
- Lower risk of side effects and complications
- Provides additional treatments like PRP, radiofrequency, etc.
Discuss your specific skin goals with a dermatologist to determine if professional treatments are recommended over at-home routines.
The Takeaway
When performed correctly, microneedling can visibly improve various signs of skin aging and damage by boosting collagen production. Use sterile needles, proper technique and diligent aftercare for best results.Be patient and consistent with your microneedling schedule. Combine with skin-restoring topicals for optimal benefits. Always consult a doctor first if you have any concerns.Microneedling is a relatively safe, non-invasive treatment that can help minimize wrinkles, scars, hyperpigmentation and other concerns when incorporated into your regular skincare routine.